
Nhân dịp Canonical cho ra mắt Ubuntu 16.04 LTS, bài này mình sẽ hướng dẫn các bạn cài đặt LAMP cho Ubuntu cũng là bổ sung vào bộ tài liệu còn thiếu về WebServer.
Danh sách Cloud VPS nên dùng để cài webserver theo bài viết này.
Tuy cùng là Linux nhưng để so sánh thì cài LAMP trên Ubuntu dễ hơn cài LAMP trên CentOS. Nhất là những bạn mới học làm quyen với Linux mình khuyên nên dùng Ubuntu.
Câu lệnh cài đặt Ubuntu đơn giản hơn, các packages đầy đủ hầu như không phải add thêm repo nào cài xong chạy được ngay không phải thêm scripts khởi động nào. Sau này cứng rồi nghiên cứu thêm cách cài LEMP nữa là đủ bộ.

Các thành phần LAMP Web Server sẽ được cài đặt trên Ubuntu 16.04 trong hướng dẫn này
- Apache 2.4.18
- PHP 7
- MariaDB 10.0 hoặc MySQL 5.7
- phpmyadmin 4.5.4
Để cho chắc cú, trên tất cả các phiên bản từ Ubuntu 16.04/15.10/15.04/14.10/14.04/13.10/12… trước khi đi vào cài đặt, chạy cho mình hai lệnh để update hệ điều hành và các gói cài đặt mới nhất. Không muốn dùng tài khoản root thì nhớ thêm sudo vào trước câu lệnh mỗi khi cài đặt.
sudo apt-get update
sudo apt-get upgrade
1. Cài Webserver Apache 2.4.18
Để cài Apache bản mới nhất, chạy lệnh sau cho mình:
sudo apt-get install apache2
Quá trình cài đặt show ra màn hình như sau
thuynh@srv3:~$ sudo apt-get install apache2
Reading package lists... Done
Building dependency tree
Reading state information... Done
The following additional packages will be installed:
 apache2-bin apache2-data apache2-utils libapr1 libaprutil1
 libaprutil1-dbd-sqlite3 libaprutil1-ldap liblua5.1-0 ssl-cert
Suggested packages:
 www-browser apache2-doc apache2-suexec-pristine | apache2-suexec-custom
 openssl-blacklist
The following NEW packages will be installed:
 apache2 apache2-bin apache2-data apache2-utils libapr1 libaprutil1
 libaprutil1-dbd-sqlite3 libaprutil1-ldap liblua5.1-0 ssl-cert
0 upgraded, 10 newly installed, 0 to remove and 1 not upgraded.
Need to get 1,549 kB of archives.
After this operation, 6,412 kB of additional disk space will be used.
Do you want to continue? [Y/n]
Chọn Y để tiếp tục cài đặt.
Thêm -y nếu không muốn phải nhập vào Y mỗi khi cài. câu lệnh sẽ như sau sudo apt-get install -y apache2. Ở trên mình muốn show cho các bạn xem thông tin và danh sách các gói cài đặt đi cùng apache.
Mặc định Apache đã được cấu hình khởi động cùng hệ thống rồi. Nếu chưa thì chạy hai lệnh bên dưới, áp dụng cho cả Ubuntu 15.10/15.04.
sudo systemctl enable apache2
sudo systemctl start apache2
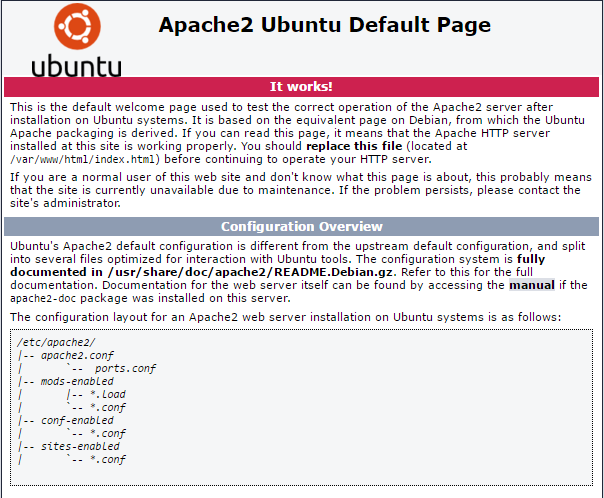
Kiểm tra apache chạy hay chưa, mở trình duyệt Chrome nhập vào url http://your_domain/ hoặc http://server-ip/ thông tin như hình bên dưới là OK
Muốn chạy nhiều web site bạn tạo Virtualhost tương ứng với mỗi domain, tham khảo các bài viết:
2. Cài đặt MariaDB (MySQL)
Ubuntu 16.04 hỗ trợ cả MariaDB 10.0.24 và MySQL 5.7. Mình chọn MariaDB thay cho MySql, đây là bản rẽ nhánh từ MySQL được tối ưu để xử lý tốt hơn, cú pháp câu lệnh tương tự nhau. Ai không muốn vẫn có thể cài MySql không vấn đề gì.
Cài MariaDB
sudo apt-get install mariadb-server
Cài MySQL
sudo apt-get install mysql-server
Các gói cài đặt đi theo bộ cài MảiaDB như bên dưới:
thuynh@srv3:~$ sudo apt-get install mariadb-server
 Reading package lists... Done
 Building dependency tree
 Reading state information... Done
 The following additional packages will be installed:
 libaio1 libcgi-fast-perl libcgi-pm-perl libdbd-mysql-perl libdbi-perl
 libencode-locale-perl libfcgi-perl libhtml-parser-perl libhtml-tagset-perl
 libhtml-template-perl libhttp-date-perl libhttp-message-perl libio-html-perl
 liblwp-mediatypes-perl libmysqlclient20 libterm-readkey-perl
 libtimedate-perl liburi-perl mariadb-client-10.0 mariadb-client-core-10.0
 mariadb-common mariadb-server-10.0 mariadb-server-core-10.0 mysql-common
 Suggested packages:
 libclone-perl libmldbm-perl libnet-daemon-perl libsql-statement-perl
 libdata-dump-perl libipc-sharedcache-perl libwww-perl mailx mariadb-test
 tinyca
 The following NEW packages will be installed:
 libaio1 libcgi-fast-perl libcgi-pm-perl libdbd-mysql-perl libdbi-perl
 libencode-locale-perl libfcgi-perl libhtml-parser-perl libhtml-tagset-perl
 libhtml-template-perl libhttp-date-perl libhttp-message-perl libio-html-perl
 liblwp-mediatypes-perl libmysqlclient20 libterm-readkey-perl
 libtimedate-perl liburi-perl mariadb-client-10.0 mariadb-client-core-10.0
 mariadb-common mariadb-server mariadb-server-10.0 mariadb-server-core-10.0
 mysql-common
 0 upgraded, 25 newly installed, 0 to remove and 1 not upgraded.
 Need to get 16.3 MB of archives.
 After this operation, 143 MB of additional disk space will be used.
 Do you want to continue? [Y/n]
Chọn Y để cài tiếp.
Trên Ubuntu 16.04/15/10/15.04 MariaDB không yêu cầu bạn thiết lập mật khẩu cho tài khoản root quản lý database khi cài đặt. Bạn cần chạy thêm lệnh để cấu hình lại MariaDB cho bảo mật hơn.
sudo mysql_secure_installation
Chọn Y toàn bộ cho các câu hỏi bên dưới, ý nghĩa các tùy chọn này bạn xem thêm bài:
NOTE: RUNNING ALL PARTS OF THIS SCRIPT IS RECOMMENDED FOR ALL MariaDB
 SERVERS IN PRODUCTION USE! PLEASE READ EACH STEP CAREFULLY!

In order to log into MariaDB to secure it, we'll need the current
 password for the root user. If you've just installed MariaDB, and
 you haven't set the root password yet, the password will be blank,
 so you should just press enter here.

Enter current password for root (enter for none):
 OK, successfully used password, moving on...

Setting the root password ensures that nobody can log into the MariaDB
 root user without the proper authorisation.

Set root password? [Y/n] y
 New password:
 Re-enter new password:
 Password updated successfully!
 Reloading privilege tables..
 ... Success!
 By default, a MariaDB installation has an anonymous user, allowing anyone
 to log into MariaDB without having to have a user account created for
 them. This is intended only for testing, and to make the installation
 go a bit smoother. You should remove them before moving into a
 production environment.

Remove anonymous users? [Y/n] y
 ... Success!

Normally, root should only be allowed to connect from 'localhost'. This
 ensures that someone cannot guess at the root password from the network.

Disallow root login remotely? [Y/n] y
 ... Success!

By default, MariaDB comes with a database named 'test' that anyone can
 access. This is also intended only for testing, and should be removed
 before moving into a production environment.

Remove test database and access to it? [Y/n] y
 - Dropping test database...
 ERROR 1008 (HY000) at line 1: Can't drop database 'test'; database doesn't exist
 ... Failed! Not critical, keep moving...
 - Removing privileges on test database...
 ... Success!

Reloading the privilege tables will ensure that all changes made so far
 will take effect immediately.

Reload privilege tables now? [Y/n] y
 ... Success!

Cleaning up...

All done! If you've completed all of the above steps, your MariaDB
 installation should now be secure.

Thanks for using MariaDB!
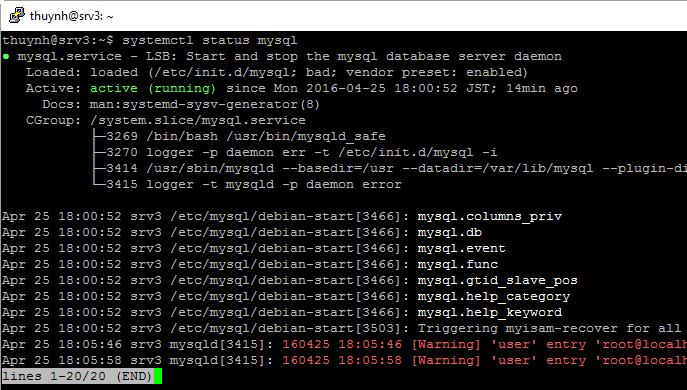
Tiếp theo, dùng một trong hai lênh sau để kiểm tra xem MảiaDB đã sẵn sàng hay chưa.
sudo systemctl status mysql
sudo systemctl status mysql.service
Bạn có thể dùng câu lệnh chung để kiểm tra với tất cả các phiên bản từ Ubuntu cũ hơn, chạy lệnh.
sudo service mysql status
3. Cài đặt PHP 7.0
PHP7 là phiên bản mặc định trên Ubuntu 16.04 thay thế cho php 5.3, 5.4, 5.5, 5.6. Bạn có thể cài PHP7 để chạy các các mã nguồn phổ biến WordPress 4.5, joomla 3.5 riêng vơi drupal 7 không vượt qua những thử nghiệm của nhóm phát triển hiện vẫn chưa được hỗ trợ trên Ubuntu 16.04.
Mình sẽ cài những gói cần thiết nhất của PHP7.0 để chạy script php, các bạn có thể bổ sung thêm tuỳ mục đích sử dụng.
sudo apt-get install php7.0-cli php7.0-json php7.0-common libapache2-mod-php7.0 php7.0-mcrypt php7.0-mysql php-mbstring php-gettext
Output như bên dưới:
Reading package lists... Done
 Building dependency tree
 Reading state information... Done
 The following additional packages will be installed:
 php-common php7.0-cli php7.0-common php7.0-json php7.0-opcache php7.0-readline libapache2-mod-php7.0 php7.0-mcrypt php7.0-mysql php7.0-mbstring php-gettext
 php-gettext

Suggested packages:
 php-pear
 The following NEW packages will be installed:
php-common php7.0-cli php7.0-common php7.0-json php7.0-opcache php7.0-readline libapache2-mod-php7.0 php7.0-mcrypt php7.0-mysql php7.0-mbstring php-gettext
 0 upgraded, 9 newly installed, 0 to remove and 1 not upgraded.
 Need to get 3,164 kB of archives.
 After this operation, 13.7 MB of additional disk space will be used.
 Do you want to continue? [Y/n]
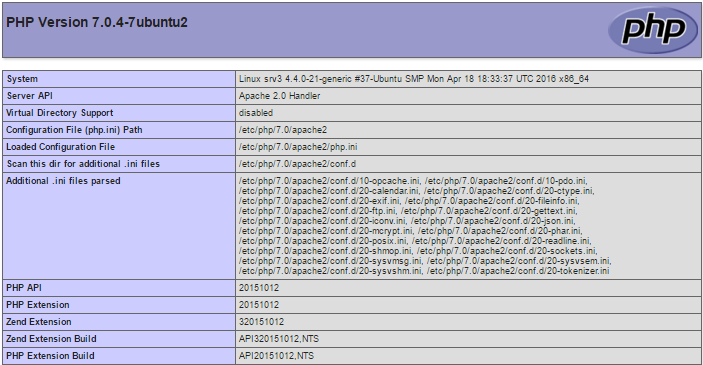
Cài đặt hoàn tất, như các bài hướng dẫn trước bạn tạo cho mình file info.php có nội dung như sau để kiểm tra php script đã chạy hay chưa.
<?php phpinfo(); ?>
Chúng ta mở web browser nhập vào url http://your_domain/info.php hoặc http://server-ip/info.php
Kết quả như bến dưới là OK.
4. Cài đặt phpMyAdmin 4.5
Bước này mình cài phpmyadmin 4.5.4 thêm vào để quản lý MariaDB cho tiện, bạn nào dùng tốt command thì bỏ qua.
sudo apt-get install phpmyadmin
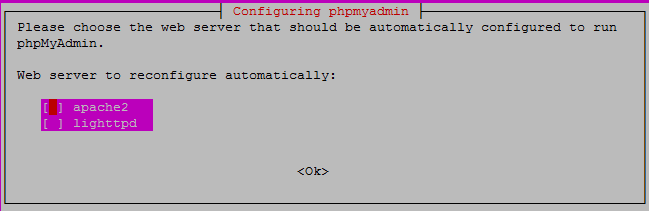
Cửa sổ cấu hình phpmyadmin hiện ra yêu cầu bạn chọn Webserver nào để để chạy phpmyadmin. Đang cấu hình LAMP Stack mình chọn apache2, còn lighttpd Webserver để dịp khác mình sẽ giới thiệu.
Bước tiếp theo tạo database có tên phpmyadmin và một tài khoản cũng có tên phpmyadmin trong cơ sở dữ liệu của MariaDB, để quản trị database qua giao diện web của phpmyadmin. Chọn Yes

Tạo mật khẩu cho tài khoản phpmyadmin.
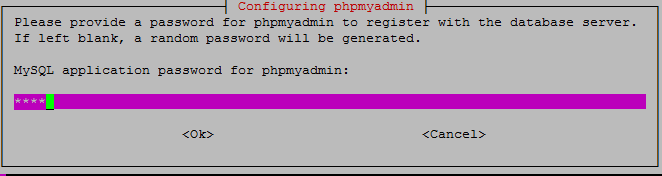
Xác nhận lại mật khẩu lần nữa.

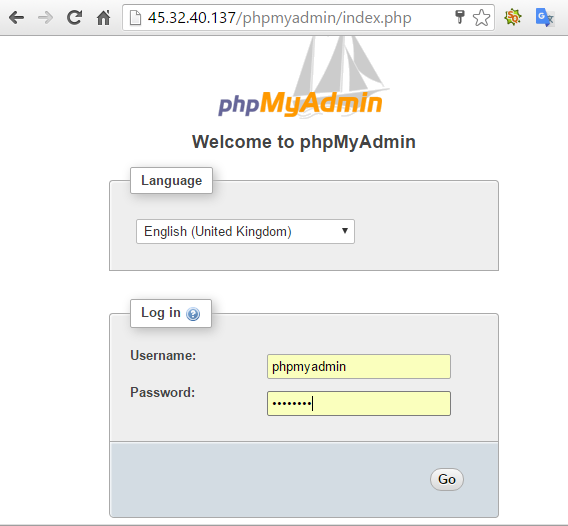
Kiểm tra kết quả xem thế nào. Lại mở trình duyệt lên truy cập url http://your_domain/phpmyadmin hoặc http://server-ip/phpmyadmin, kết quả như hình bên dưới là thành công.
5. Lỗi cài LAMP có thể xảy ra
Trong quá trình cài đặt PHP và PhpMyAdmin có thể xảy ra một số lỗi cơ bản mình liệt kê thêm ra đây để các bạn tham khảo.
Lỗi thiếu gói php-gettext
PHP Fatal error: require_once(): Failed opening required '/usr/share/php/php-gettext/gettext.inc'
(include_path='.:/usr/share/php') in /usr/share/phpmyadmin/libraries/select_lang.lib.php on line 477
Gặp lỗi này khi truy cập phpmyadmin bạn sẽ thấy thông báo lỗi trên trình duyệt dạng:
The 45.32.40.137 page isn’t working 45.32.40.137 is currently unable to handle this request 500
Chạy lệnh bổ sung package còn thiếu:
sudo apt-get install php-gettext
Lỗi 404 Not Found
Bạn cần cấu hình lại cho phpmyadmin nếu gặp lỗi này, chạy lệnh.
dpkg-reconfigure phpmyadmin
Bạn cài đặt lại thông số tuần tự theo các thông báo hiện ra.
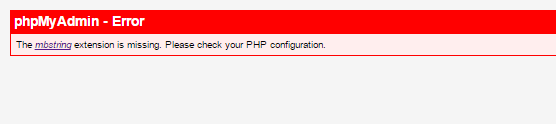
Lỗi mbstring extension missing
Bạn bổ sung thêm gói php-mbstring vào là được.
sudo apt-get install php-mbstring
Mình xin dừng bài viết ở đây, bài này mình bạn đã hướng dẫn cài đầy đủ các thành phần cho LAMP Webserver với các phiên bản mới nhất Apache2.4, PHP7, MariaDB10.0, PhpMyAdmin4.5 dành cho Ubuntu Server 16.04 rồi.
Muốn cài đặt Wordprees làm website bạn xem lại bài viết trước của mình.
Một số giao diện wordpress đẹp trả phí của mythemeshop mà thuysys.com đang sở hữu bạn có thể tham khảo để dùng cho website của bạn. Nếu muốn mua với giá ưu đãi vui lòng liên hệ với mình.
Bài tới mình xin gửi tới các bạn bài viết hướng dẫn cài WebServer LEMP trên Ubuntu 16.04.
Chúc các bạn thành công, hãy đón đọc và ủng hộ mình bằng việc comment dưới mỗi bài viết bạn nhé.
Web mình làm bằng PHP quản lý database băng MySQL, giờ chuyển localhost qua máy mới cài ubuntu sử dụng MariaDB thì có gặp lỗi hay config lại những gì không bạn
Web chạy trên mysql thì chạy trên mariadb vô tư không vấn đề già cả.
Adm Thủy cho mình hỏi, sao khi mình nhập mậ khảu vào mà toàn báo ‘Access denied for user ‘root’@’localhost’ (using password: NO)’
Bạn chưa có quyền truy cập, bạn chown cho folder và file xem.
Cho mình hỏi file info.php được tạo thế nào z bạn. để trong mục nào??
Bạn để trong thư mục chứa code của trang web, mình có đưa đoạn code trang info.php trong hướng dẫn bên trên bạn xem lại.